Каталог Widia инструментальная оснастка - страница 1053
Навигация
 Каталог Widia достижения 2021
 Брошюра Widia решения для аэрокосмической промышленности
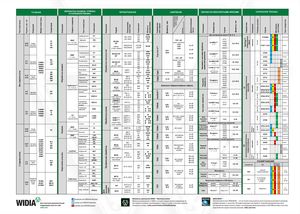 Брошюра Widia техническое руководство
 Каталог Widia токарный инструмент 2020
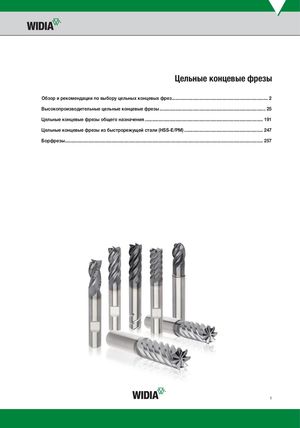 Каталог Widia цельные концевые фрезы
 Каталог Widia техническое руководство по разверткам
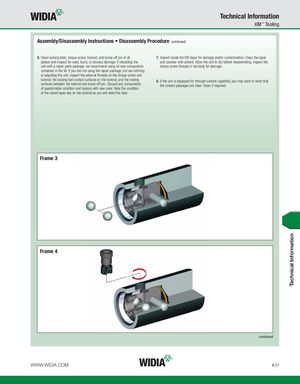
Technical Information KM™ Tooling Assembly/Disassembly Instructions • Disassembly Procedure (continued) 6. Clean locking balls, torque screw, lockrod, and bump-off pin of all 7. Inspect inside the KM taper for damage and/or contamination. Clean the taper grease and inspect for wear, burrs, or obvious damage. If rebuilding the and canister with solvent. Allow the unit to dry before reassembling. Inspect the unit with a repair parts package, we recommend using all new components torque screw threads in the body for damage. contained in the kit. If you are not using the repair package, but are retiming or adjusting the unit, inspect the external threads on the torque screw and lockrod, the locking ball contact surfaces on the lockrod, and the mating 8. If the unit is equipped for through-coolant capability, you may want to verify that surfaces between the lockrod and bump-off pin. Discard any components the coolant passages are clear. Clean if required. of questionable condition and replace with new ones. Note the condition of the raised taper key on the lockrod as you will need this later. Frame 3 Frame 4 (continued) WWW.WIDIA.COM K17 Technical Information