Общий каталог Sumitomo 2018 - 2019 - страница 465
Навигация
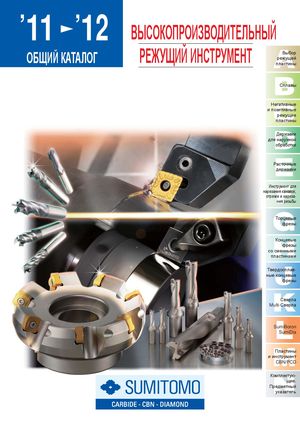 Общий каталог Sumitomo 2012
 Каталог Sumitomo резьбонарезной инструмент
 Каталог Sumitomo пластины с режущей кромкой-моноалмаз Sumicristal
 Каталог Sumitomo инструмент для обработки канавок
 Общий каталог Sumitomo 2019 - 2020
 Каталог Sumitomo запасные части
- Pages 3-6_CS6_EN_web
- A 1-20 insert selection EN_web
- B 1-14 grades_EN_web
- C01-17 inserts intro pages_EN_web
- C18-56 negative inserts_EN_web
- C57-86 positive inserts_EN_web
- D 1-46 tool holders_EN_web
- E 1-24 boring bars_EN_web
- F 1-48 grooving_thread tools_EN_web
- G 1-54 milling cutters_EN_web
- H 1-48 insert type endmills_EN_web
- J 1-24 new endmills_EN_web
- J 25-50 endmills_EN_web
- K 1-46 Multi-Drills_EN_web
- K 47-76 Multi-Drills_EN_web
- L 1-28 cbn_pcd grades_EN_web
- M 1-34 cbn_pcd inserts_EN_web
- M 35-56 SHM tools_EN_web
- N1-24 technical guidance_EN_web
- P 1-8 spare parts_neu_EN_web
- P 9-22 index_notes_EN_web

Indexable Insert Type ˮSumiDrill“
WDX Type
Eccentric Sleeve WAS Type
The Eccentric Sleeve WAS Type, exclusively designed for ˮSumiDrill“ WDX Type, provides up to ±0,3mm of hole
size adjustment. ød 1
| L | L | ||||||||||
| 4 | 3 | ||||||||||
| L | L | ||||||||||
| 2 | 1 | ||||||||||
| Dimensions | |||||||||||
| (mm) | |||||||||||
| Diameter Adjustment | |||||||||||
| Stock Cat. No. | Ød | ØD | ØD | L | L | L | L | ||||
| 1 | 2 | 3 1 | 2 | 3 | 4 | Range (max.) | |||||
| WAS 2025-48 | l | 20 | 25 | 33 | 43 | 5 | 32 | 5 | +0,3 ~ -0,2 | ||
| WAS 2532-60 | l | 25 | 32 | 42 | 60 | 7 | 46 | 6 | +0,3 ~ -0,3 | ||
| WAS 3240-70 | l | 32 | 40 | 55 | 70 | 7 | 57 | 6 | +0,3 ~ -0,3 | ||
| WAS 4050-85 | l | 40 | 50 | 60 | 80 | 7 | 64 | 6 | +0,3 ~ -0,3 |
Diameter Adjustment Procedure 1
Reference Line
Adjust the dial on the sleeve to the reference line on the flange of the drill.
Procedure 3 Procedure 2
Fixing screw Adjustment hash marks Fixation of the adjusting Turn to a positive number to expand the hole, and sleeve. to a negative number to decrease the drilling diameter. Note 1: The dial is for reference purposes. Always measure the actual drilling diameter and adjust accordingly. Note 2: Not usable with collet chuck type holders. Only use with a side-locking holder like Weldon.