Основной каталог Kyocera 2016-2017 - страница 727
Навигация
 Каталог Kyocera фрезы MFH для высокоскоростной обработки
 Каталог Kyocera фрезы MEC высокопроизводительные концевые и торцевые фрезы
 Каталог микроинструмента Kyocera 2015-2016
 Каталог Kyocera высокоэффективные сверла со сменными пластинами DRV
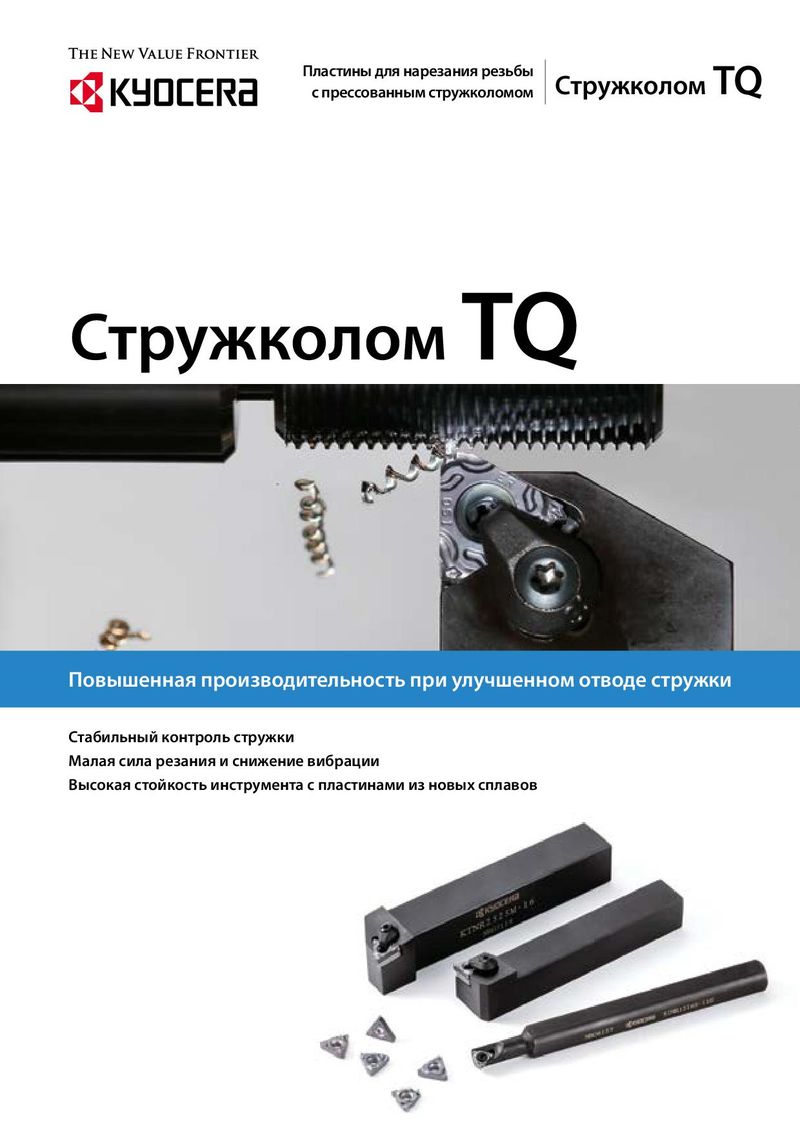 Каталог Kyocera пластины TQ для нарезания резьбы c прессованным стружколомом
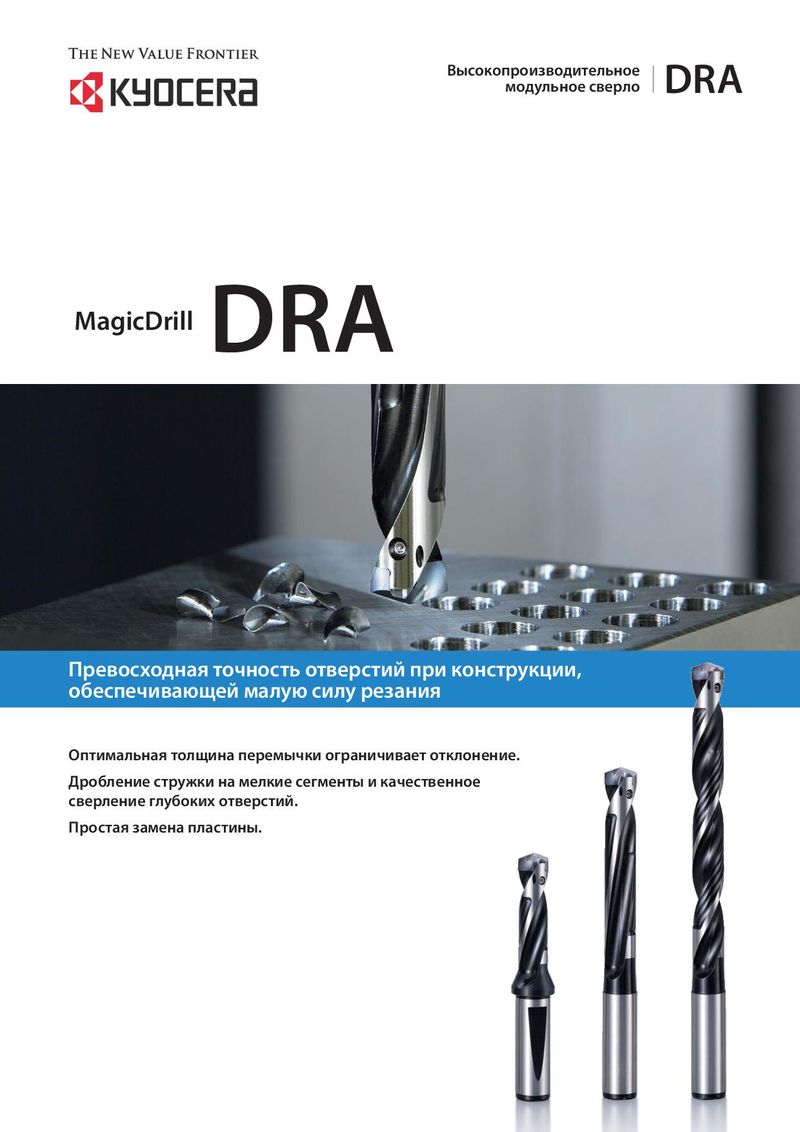 Каталог Kyocera высокопроизводительные модульные сверла DRA
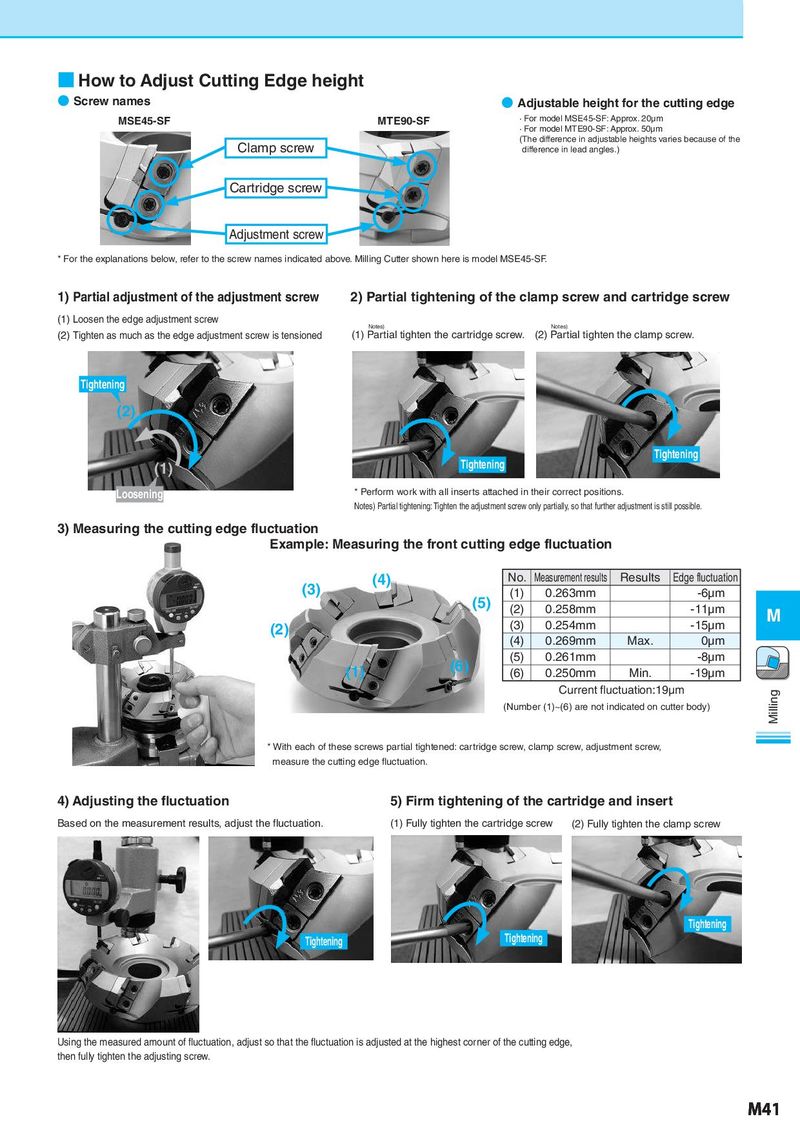
■ How to Adjust Cutting Edge height ● Screw names ● Adjustable height for the cutting edge MSE45-SF MTE90-SF · For model MSE45-SF: Approx. 20μm · For model MTE90-SF: Approx. 50μm Clamp screw (The difference in adjustable heights varies because of the difference in lead angles.) Cartridge screw Adjustment screw * For the explanations below, refer to the screw names indicated above. Milling Cutter shown here is model MSE45-SF. 1) Partial adjustment of the adjustment screw 2) Partial tightening of the clamp screw and cartridge screw (1) Loosen the edge adjustment screw Notes) Notes) (2) Tighten as much as the edge adjustment screw is tensioned (1) Partial tighten the cartridge screw. (2) Partial tighten the clamp screw. Tightening (2) Tightening Tightening (1) Loosening * Perform work with all inserts attached in their correct positions. Notes) Partial tightening: Tighten the adjustment screw only partially, so that further adjustment is still possible. 3) Measuring the cutting edge fluctuation Example: Measuring the front cutting edge fluctuation (3) (4) No. Measurement results Results Edge fluctuation (5) (1) 0.263mm -6μm (2) 0.258mm -11μm M (2) (3) 0.254mm -15μm (4) 0.269mm Max. 0μm (6) (5) 0.261mm -8μm (1) (6) 0.250mm Min. -19μm Current fluctuation:19μm Milling (Number (1)~(6) are not indicated on cutter body) * With each of these screws partial tightened: cartridge screw, clamp screw, adjustment screw, measure the cutting edge fluctuation. 4) Adjusting the fluctuation 5) Firm tightening of the cartridge and insert Based on the measurement results, adjust the fluctuation. (1) Fully tighten the cartridge screw (2) Fully tighten the clamp screw Tightening Tightening Tightening Using the measured amount of fluctuation, adjust so that the fluctuation is adjusted at the highest corner of the cutting edge, then fully tighten the adjusting screw. M41