Каталог Iscar токарный инструмент 2017 - страница 364
Навигация
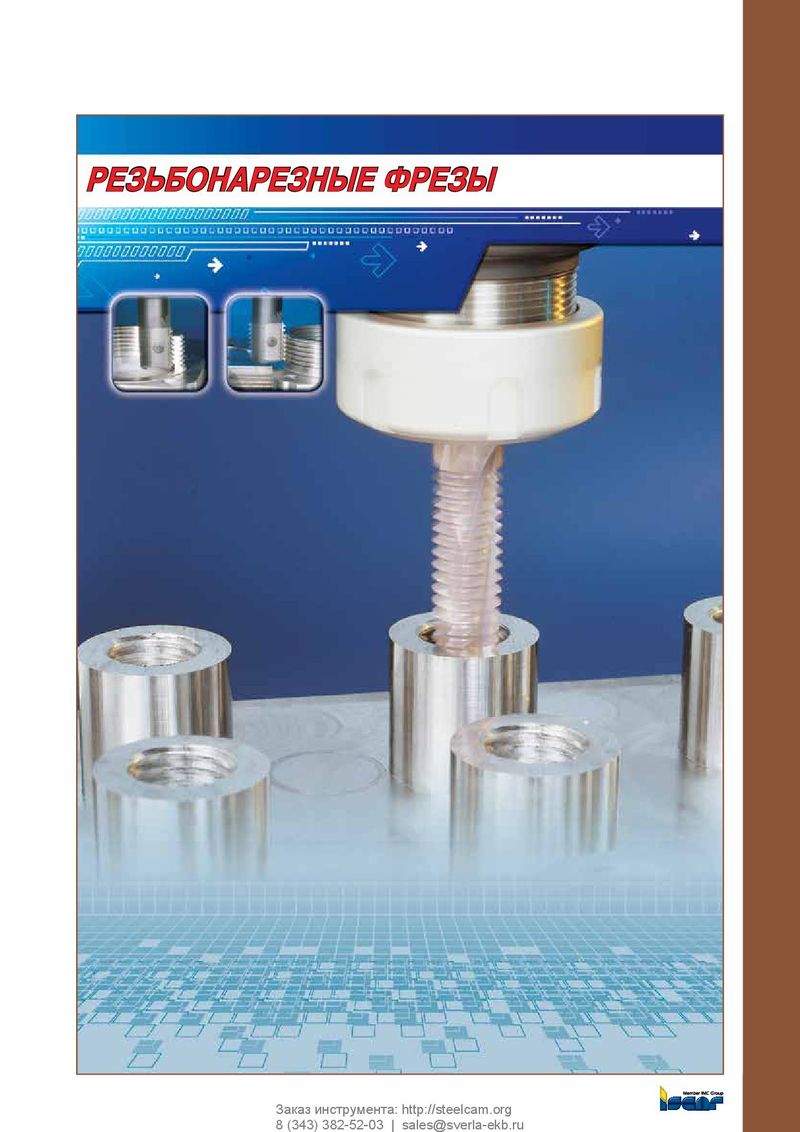 Каталог Iscar резьбонарезные фрезы
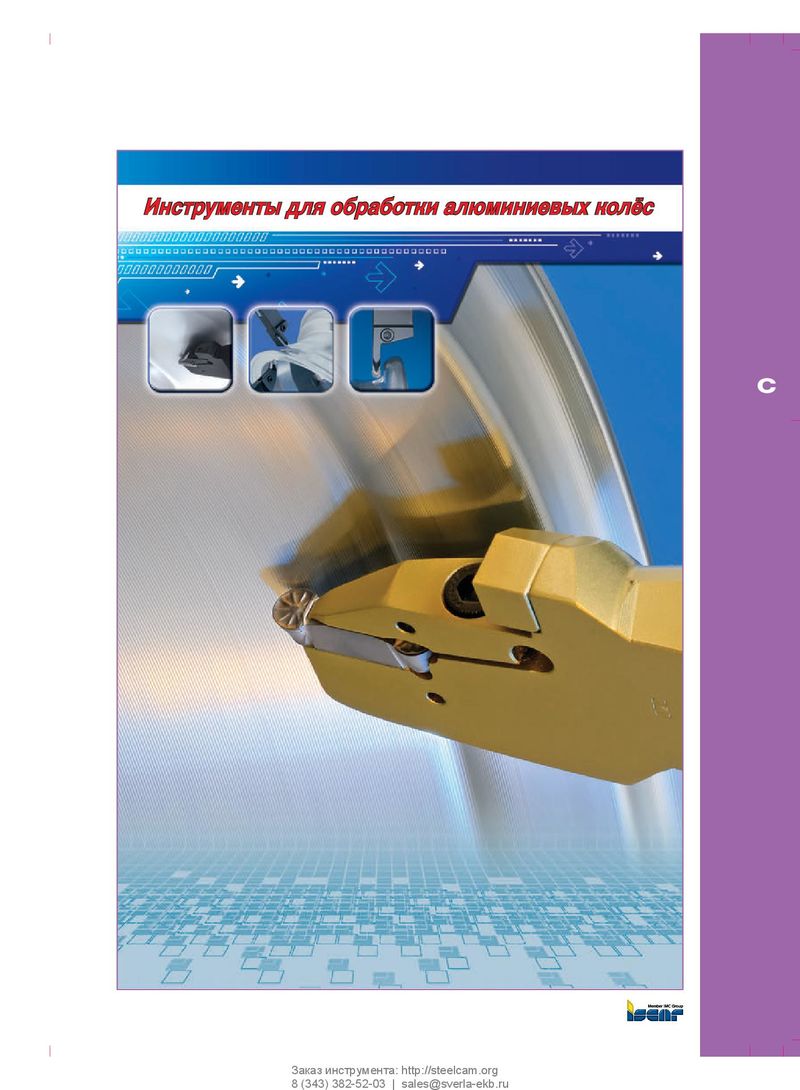 Каталог Iscar инструмент для обработки алюминиевых колёс
 Каталог Iscar державки и пластины для нарезания резьбы 2022
 Каталог Iscar расточные системы 2022
 Каталог Iscar высокоточные развертки и метчики 2022
 Токарные инструменты Iscar (часть 2) 2026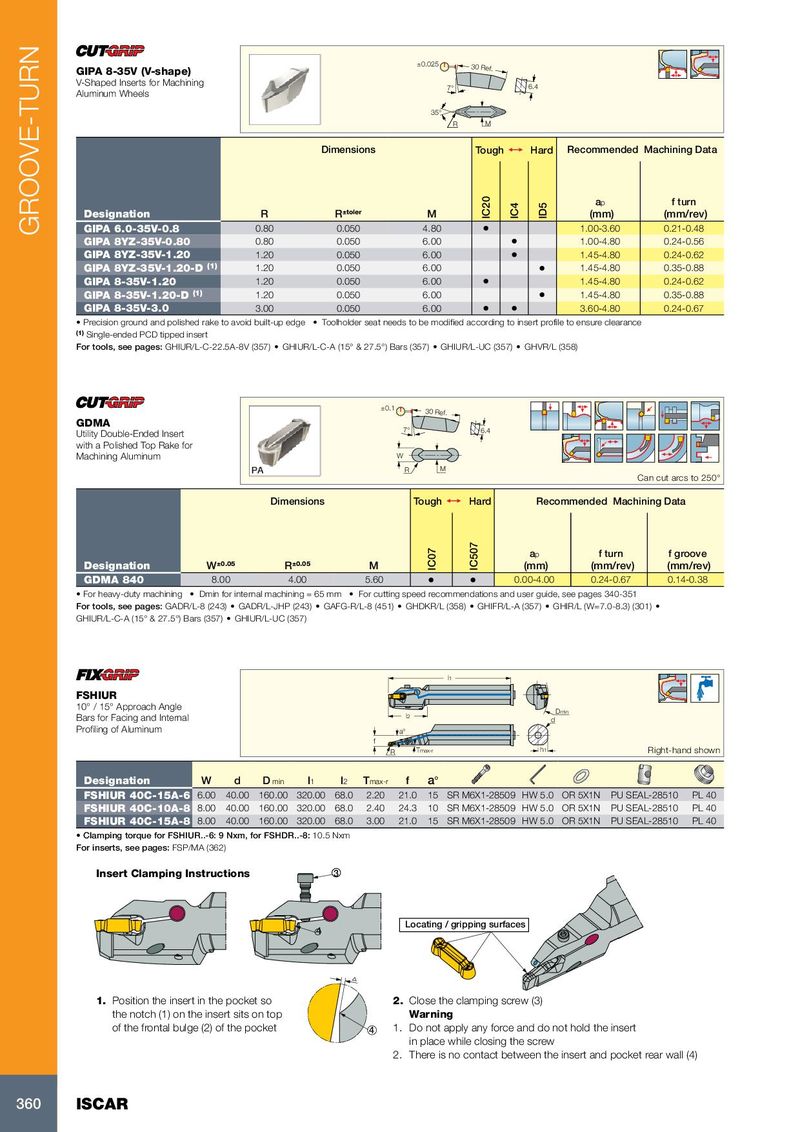
GIPA 8-35V (V-shape)
V-Shaped Inserts for Machining Aluminum Wheels
±0.025 30 Ref. 7° 6.4
35° R M
| Dimensions | Tough | 1 | Hard | Recommended | Machining Data | |||
| Designation | R | R±toler | M | IC20 | IC4 | ID5 | ap (mm) | f turn (mm/rev) |
| GIPA 6.0-35V-0.8 | 0.80 | 0.050 | 4.80 | • | 1.00-3.60 | 0.21-0.48 | ||
| GIPA 8YZ-35V-0.80 | 0.80 | 0.050 | 6.00 | • | 1.00-4.80 | 0.24-0.56 | ||
| GIPA 8YZ-35V-1.20 | 1.20 | 0.050 | 6.00 | • | 1.45-4.80 | 0.24-0.62 | ||
| GIPA 8YZ-35V-1.20-D(1) | 1.20 | 0.050 | 6.00 | • | 1.45-4.80 | 0.35-0.88 | ||
| GIPA 8-35V-1.20 | 1.20 | 0.050 | 6.00 | • | 1.45-4.80 | 0.24-0.62 | ||
| GIPA 8-35V-1.20-D(1) | 1.20 | 0.050 | 6.00 | • | 1.45-4.80 | 0.35-0.88 | ||
| GIPA 8-35V-3.0 | 3.00 | 0.050 | 6.00 | • | • | 3.60-4.80 | 0.24-0.67 |
- Precision ground and polished rake to avoid built-up edge
- Toolholder seat needs to be modified according to insert profile to ensure clearance
(1) Single-ended PCD tipped insert For tools, see pages: GHIUR/L-C-22.5A-8V (357) GHIUR/L-C-A (15° & 27.5°) Bars (357) GHIUR/L-UC (357) GHVR/L (358)
±0.1 30 Ref.
GDMA
| Utility Double-Ended Insert | 7° | 6.4 | ||
| with a Polished Top Rake for | ||||
| Machining Aluminum | W | |||
| R | M | |||
| Can cut arcs to 250° |
Dimensions Tough 1 Hard Recommended Machining Data
| ap | f turn | f groove | |||||||
| Designation | W±0.05 | R ±0.05 | M | (mm) | (mm/rev) | (mm/rev) | |||
| GDMA 840 | 8.00 | 4.00 | 5.60 | • | • | 0.00-4.00 | 0.24-0.67 | 0.14-0.38 |
- For heavy-duty machining
- Dmin for internal machining = 65 mm
- For cutting speed recommendations and user guide, see pages 340-351
For tools, see pages: GADR/L-8 (243) GADR/L-JHP (243) GAFG-R/L-8 (451) GHDKR/L (358) GHIFR/L-A (357) GHIR/L (W=7.0-8.3) (301) GHIUR/L-C-A (15° & 27.5°) Bars (357) GHIUR/L-UC (357)
l1
FSHIUR
10° / 15° Approach Angle Dmin
| Bars for Facing and Internal | l2 | d | |||
| Profiling of Aluminum | a° | ||||
| f | |||||
| R | Tmax-r | h1 | Right-hand shown |
| Designation | W | d | D | l | l | T | f | a° | |
| min | 1 | 2 | max-r | ||||||
| FSHIUR 40C-15A-6 | 6.00 40.00 160.00 320.00 68.0 | 2.20 | 21.0 15 SR M6X1-28509 HW 5.0 OR 5X1N PU SEAL-28510 | PL 40 | |||||
| FSHIUR 40C-10A-8 | 8.00 40.00 160.00 320.00 68.0 | 2.40 | 24.3 10 SR M6X1-28509 HW 5.0 OR 5X1N PU SEAL-28510 | PL 40 | |||||
| FSHIUR 40C-15A-8 | 8.00 40.00 160.00 320.00 68.0 | 3.00 | 21.0 15 SR M6X1-28509 HW 5.0 OR 5X1N PU SEAL-28510 | PL 40 |
- Clamping torque for FSHIUR..-6: 9 Nxm, for FSHDR..-8: 10.5 Nxm
For inserts, see pages: FSP/MA (362) Insert Clamping Instructions 3
Locating / gripping surfaces 4
1. Position the insert in the pocket so 2. Close the clamping screw (3)
the notch (1) on the insert sits on top Warning
of the frontal bulge (2) of the pocket 4 1. Do not apply any force and do not hold the insert
in place while closing the screw 2. There is no contact between the insert and pocket rear wall (4)